“Sequence” Mode
1. How to Use Sequence Mode
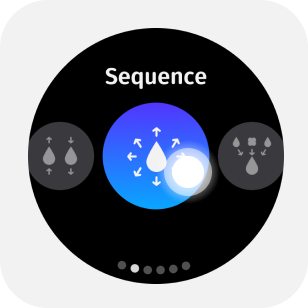
1.1 Enter Sequence Mode
Select Sequence from the mode menu to enter sequence mode. continuousLiquid_2_en

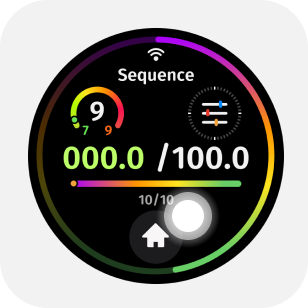
1.2 Parameter Adjustment
Tap the upper half of the main screen to enter the parameter menu.By swiping or tapping the screen, you can adjust in the parameter menu: total volume, aspirate and dispense speeds, mixing volume, mixing speed, blow-out option, and pre-dispense & tail volume on/off.
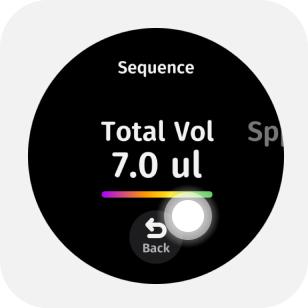
1.3 Set Different Step Volumes
Tap on the total sample volume to enter the step volume menu.


1.4 Delete or Add Step Volumes
Simultaneously click the '+' icon in the top right to continuously increase the number of dispensing steps.Tap the trash bin icon in the upper-left to delete the current volume.Tap the plus icon in the upper-right to add step volumes as needed.
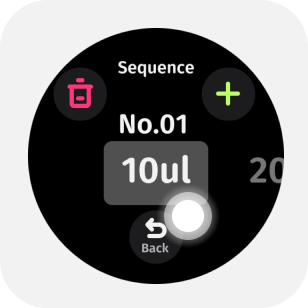


The smart pipette is equipped with intelligent calculation, which can automatically deduce the next volume parameter based on adjacent step volumes, easily achieving orderly increments or decrements of volume.
1.5 Start Pipetting
Press the trigger button to perform aspiration/dispensing.
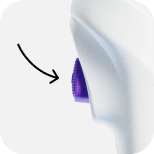
Before officially starting dispensing, pre-dispense first; then sequentially press the trigger button to complete the dispensing process; after emptying the liquid, sequence is complete.
1.6 One-Button Liquid Clearance
After performing the aspiration operation, press and hold the reverse aspiration button to clear the liquid with one button.
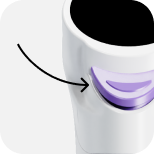
This operation method allows for more freedom during dispensing work~
1.7 Blow Out Liquid
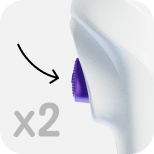
After completing the aspiration and dispensing cycle, double-click the trigger button to blow out liquid.
1.9 Manual Mixing
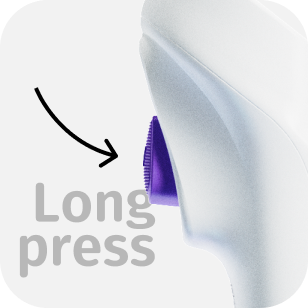
If there is no liquid in the tip, press and hold the trigger button for manual mixing.
1.9 Eject Tip
While the liquid is being dispensed, lightly press the reverse aspiration button to electrically eject the tip.