Quick Start
1. Device First Use Guide
1.1 Power On
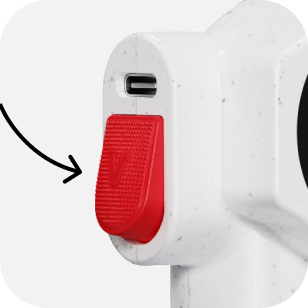
Press and hold the trigger button for 3 seconds; a beep followed by a constant screen light indicates that the device is powered on.
1.2 Select Language
The device supports both Chinese and English languages.

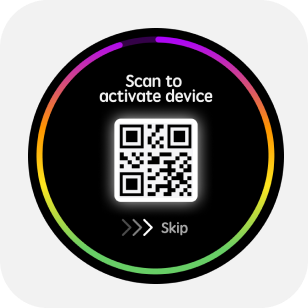
1.3 Activate Device
After selecting the language, a QR code appears. Use @Lab APP scan it to activate the device and calibrate the time.
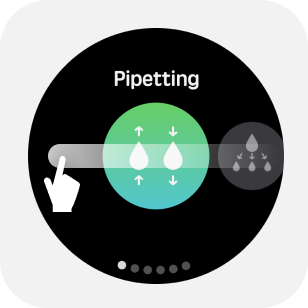
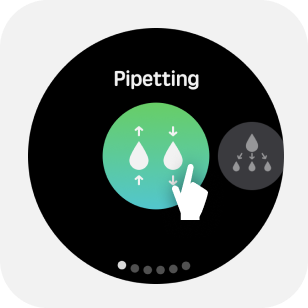
1.4 Mode Menu
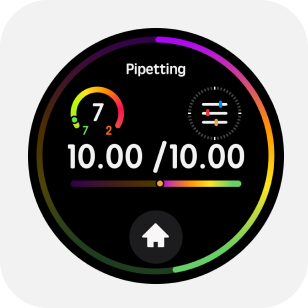
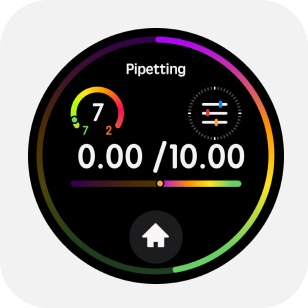
Tap the "Home" button on the main screen to enter the "Mode" menu.The mode menu includes Pipetting, Dispensing, Sequense,diluting, Reverse, Manual, Auto-Mix, Wireless and settings. Swipe the screen to switch modes, and tap the icon in the center of the screen to enter a mode.
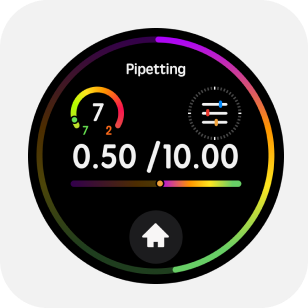
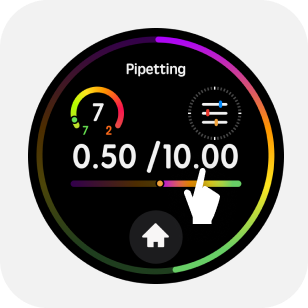
1.5 Parameter Adjustment
Tap the upper half of the main screen to enter the parameter menu.For example, to set the volume, swipe the edge of the screen to adjust the value.
Tap any number in the parameter adjustment to adjust that number individually.
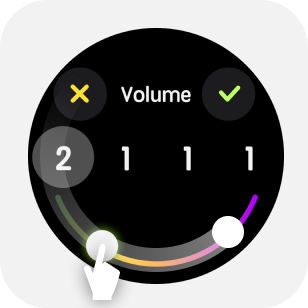
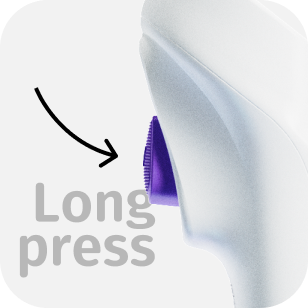
1.6 Quick Operations
Long press the upper half of the main screen to enter quick volume adjustment.
2. General Operations
2.1 Install the Tip
Select a tip that matches the pipette's range, gently press, and insert the matching tip onto the nozzle.

2.2 Aspirate/Dispense Liquid
Press the trigger gently to perform the aspiration/dispensing operation.
2.3 Quick Blow-out Under Dispensing Mode
Under dispensing mode, user can double click trigger button to blow-out all remaining liquid in tip.
2.4 Tip-Ejection Button
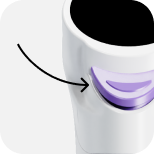
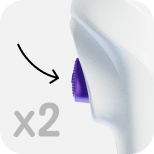
While emptying the liquid, gently press the eject button to remove the tip.
2.5 Liquid Blow-Out
After completing the aspiration and dispensing cycle, double-click the trigger to blow out liquid.
2.6 Mixing
If there is no liquid in the tip, Long press trigger button to perform liquid mixing.